CODING: THE INDEX |
Now that you have all your files uploaded to the right place, I'll show you which parts of the code you can edit to make your website more personal!
I recommend opening the
live demo page somewhere, to have a visual idea of what you are modifying.
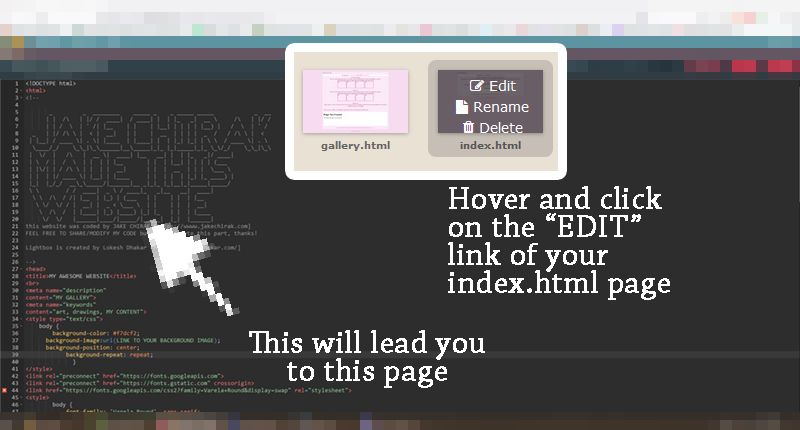
First, hover and click on the “EDIT” link of your index.html page.
This will lead you to the raw code page of index.html.
 "Theme" will change the appearance of your code, not your web page. I'm using "tomorrow night 80s" in this tutorial if you want the same colors to follow along more easily! "Theme" will change the appearance of your code, not your web page. I'm using "tomorrow night 80s" in this tutorial if you want the same colors to follow along more easily!
Now, let's start changing and explaining things. |
<title>MY AWESOME WEBSITE</title> 
<meta name="description"
content="MY GALLERY">
<meta name="keywords"
content="art, drawings, MY CONTENT"> |
 This is your website title. it will change the name displayed on the web browser tab! For exemple, this page title is "IT'S FREE REAL WEBSITE!" This is your website title. it will change the name displayed on the web browser tab! For exemple, this page title is "IT'S FREE REAL WEBSITE!"
These are keywords (separated by commas) you can put on your website so it can easily be found with search engines. I recommend using your alias/nickname/artist name as a keyword. |
|
|
|
|
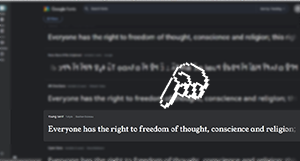
 *Help on how to use Google Fonts: *Help on how to use Google Fonts:
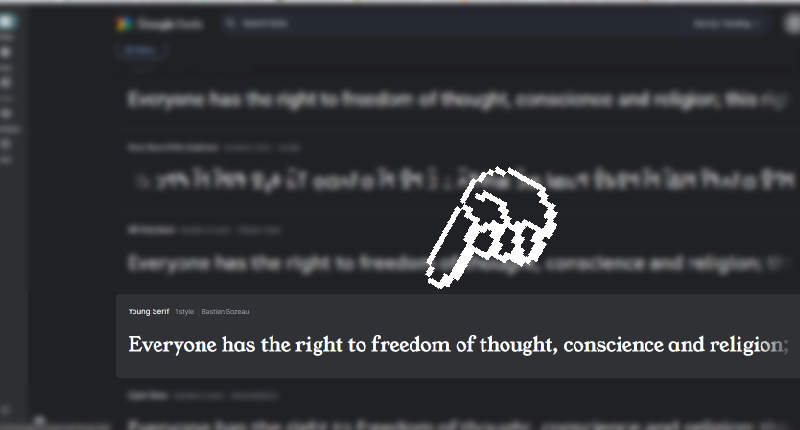
First go to the Google Fonts page. Choose a font that suits you.
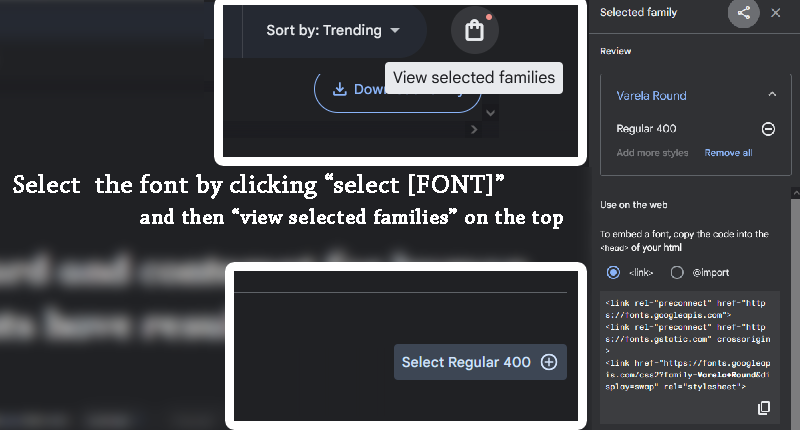
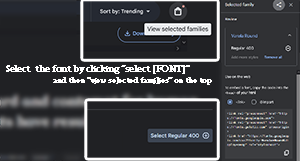
Let's say for example you want "Young Serif", click on the font. Then click on "select regular 400". Then click on the top left of the page on the bag-looking icon "view selected families", it will show you the code for your font. Copy/paste that code and replace the original font code in your page (see above), and change the parts in "font-family" that are different in your font of choice, like the name of the font (or the serif, if it's sans serif or not) (if you don't know what the fuck serif and sans serif are, check this article!)
Now let's get back to the code... |
|
<td><div align="center">Hello, welcome to my weird little space!<br>
My name is [WHATEVER] and I draw [THE WORSE THINGS YOU COULD IMAGINE] <br>
Hope you enjoy my stuff!<br>
<br>
<img src="URL TO YOUR IMAGE" alt="home image presenting your website!" title="home image" width="500" height="500"><br>
Be warned! This page contains mature content! (Or not, it's your website!) <br>
<br>
<table width="0" border="0">
<tr>
</tr>
</table>
</div></td>
</tr>
<tr>
<td><div align="center">FRIENDS/FOES:<br>
<table width="0" border="0" bgcolor="#FFFFFF">
<tr>
<td width="231"> <marquee behavior="scroll" direction="left" scrollamount="4" onmouseover="this.stop()" onmouseout="this.start()">
<a href="https://jakechirak.com/" target="_blank"><img src="jakechirakbutton.gif" style="padding-bottom: 5px;"></a>
<a href="https://neocities.org/" target="_blank"><img src="neocities-vaporwave-stamp.png" style="padding-bottom: 5px;"></a>
<a href="https://jakechirak.com/howto/makeyourownwebsite/makeyourownhome.html" target="_blank"><img src="makeyourownwebsitebanner.gif" style="padding-bottom: 5px;"></a></marquee></td>
</tr>
</table>
</div></td>
|
Okay this part is more fun! Between <div align="center"> and <img src= just write a little description of your website. You don't have to align to center as <div align="center"> says, you can also align to left or right. Test around. Add <br> to create a line break.
Like I said before, "URL TO YOUR IMAGE" should lead to the url to your image. Be wary of the size of the image (500x500, it can be changed like any image here.)
I added a warning for mature content, but obviously you don't have to keep it. Same goes for the images, you can put one image, two images, or no images at all.
The FRIEND/FOES part is where I put links to other websites, you can put stamps or funny gifs, or just remove it if you want!
bgcolor="#FFFFFF" is the background color for this section. If you want to add another banner after the other ones, just copy this part of the code and replace the parts in ALL CAPS:
<a href="YOUR LINK " target="_blank"><img src="THE LINK TO YOUR BANNER" style="padding-bottom: 5px;"></a>
You'll notice something called target="_blank" in some links. It means your link will be opened in a new tab. If you don't want this to happen, you can set it to target="_self"
|
|
|
I'm skipping the parts of the code I don't think you have to touch. You're of course allowed to experiment (that's why saving multiple files in Notepad for testing is useful!) but the parts I skipped are either just coding that would take too long to explain, or things that aren't worth changing (it would be too much pain... for you!)
DON'T FORGET TO SAVE YOUR PROGRESS! The "save" button is on the top left of the page. Alt + control + S works as well.
Be mindful that everything you save from the neocities raw code page will go online! If you want to finish everything before going live, save it in Notepad instead and only use the neocities page to have the pretty code colors that make your life easier!
|

START CODING:
NEXT : the GALLERY page
the LIGHTBOX options
the ABOUT page
TIPS |
|
|